Creating a player
To create a new player, follow these steps.
- Login to {{ site.product }}.
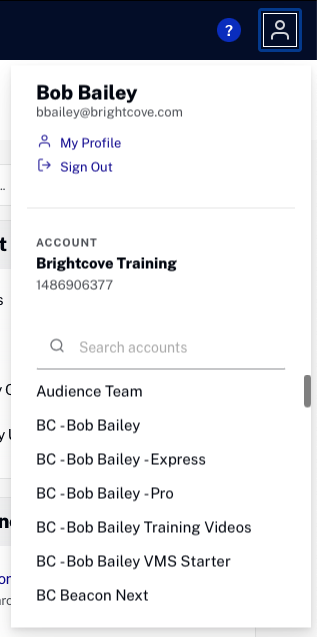
- If you have multiple accounts, click the profile icon in the top right of the page and select the account you would like to create the player in.
- Open the Players module.
- Click
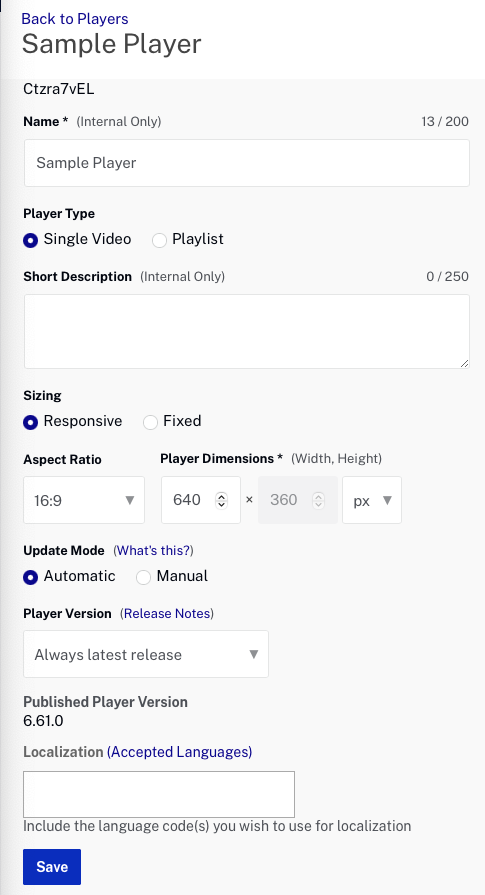
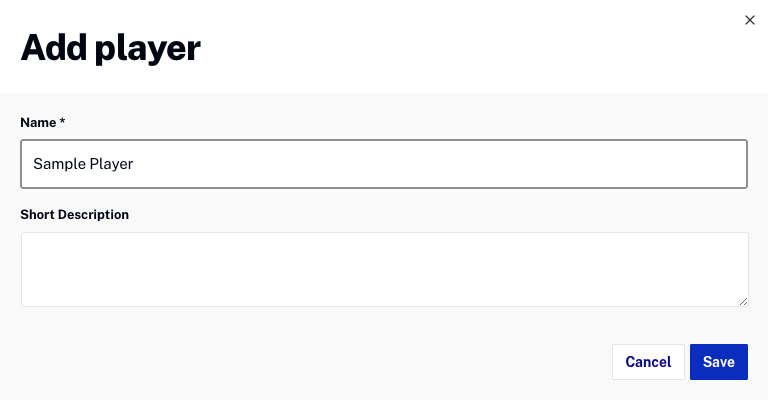
- Enter a Name and Short Description for the player. For this Quick Start, the player name will be Sample Player.
- Confirm that the player appears in the list of players.
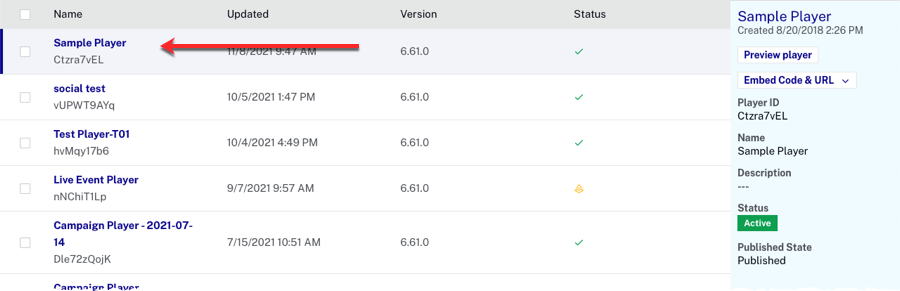
When a new player is created using the Players module, the player is built using the latest player version as published by Brightcove. To see the player version, open the Players module and click on the player that you want to check. The Player Information properties will display the Published Player Version.
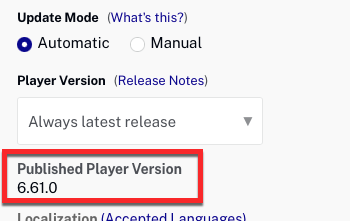
Note that all players may not be the same version. As Brightcove continues to develop and improve the Brightcove player, new player versions will be released. By default, updates are applied to all players automatically. To prevent auto-updating of a player, you must set the Update Mode setting to Manual (also known as locking a player). For more information, see Setting the Player Update Mode and Version.