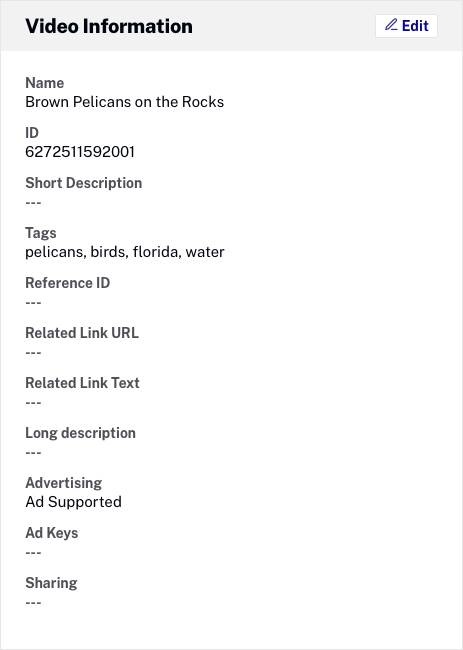
To view and edit the details for a video, open the Media module. In the panel navigation, click All videos and click a video title link. The video details page will open.
{% if site.product_short == "Beacon" %}Buttons at the top of the video details page provide the ability to:
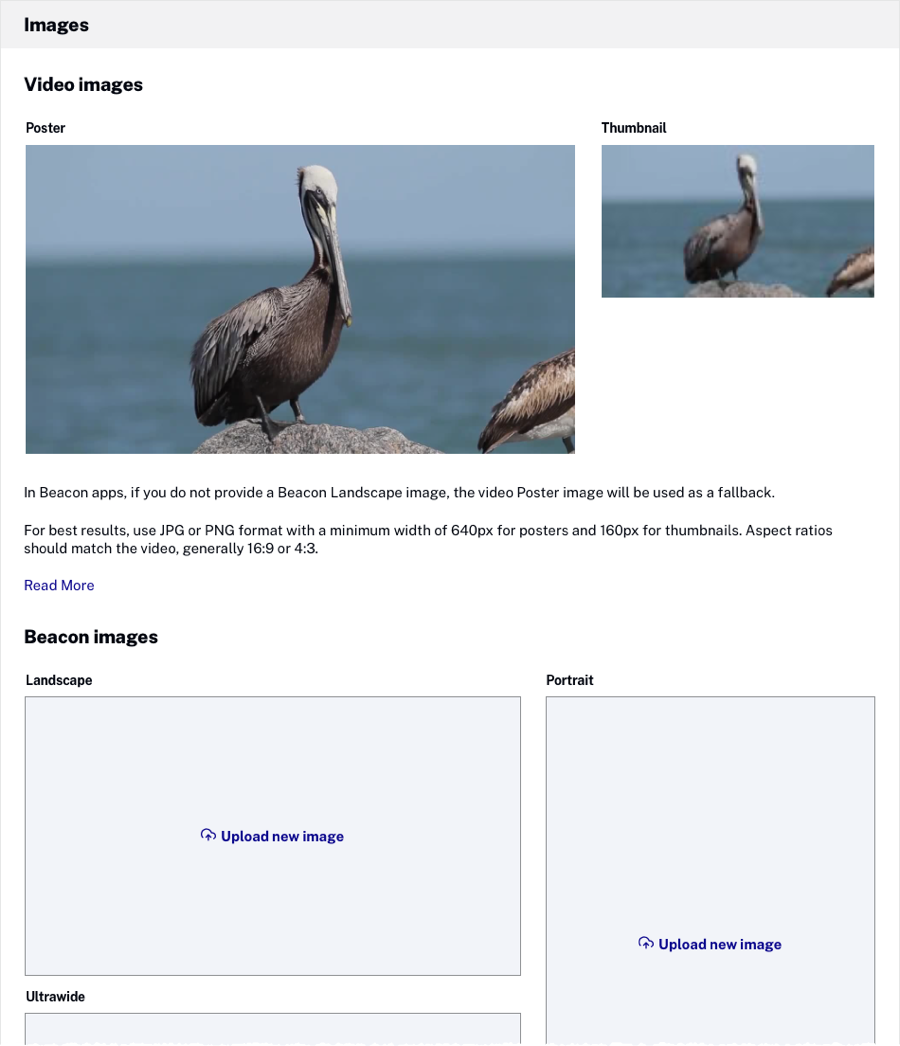
- Capture new poster and thumbnail images
- Add the video to a folder or add it to a playlist
- Publish a video
- Deactivate/activate videos
- Delete the video
If the video is activated, the Deactivate button can be used to deactivate the video. If the video is deactivated, the Activate button can be used to activate the video. Videos that are deactivated cannot be played in a Brightcove Player.

The preview player at the top of the page can be used to view the video. The cue point timeline will display any cue points that have been added to the video.

Tabs below the cue point timeline organize the video details into sections:
- Overview
- Availability
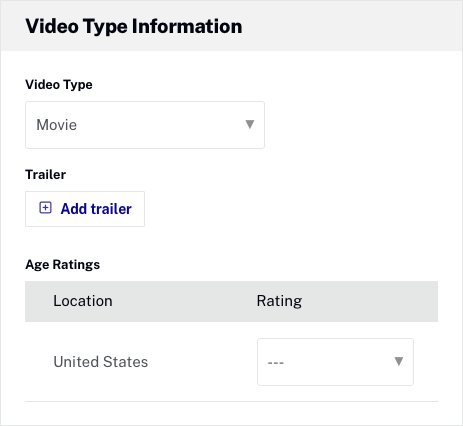
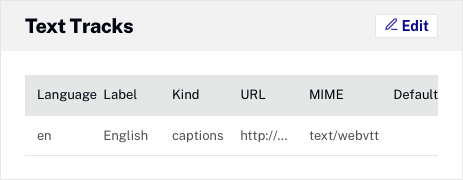
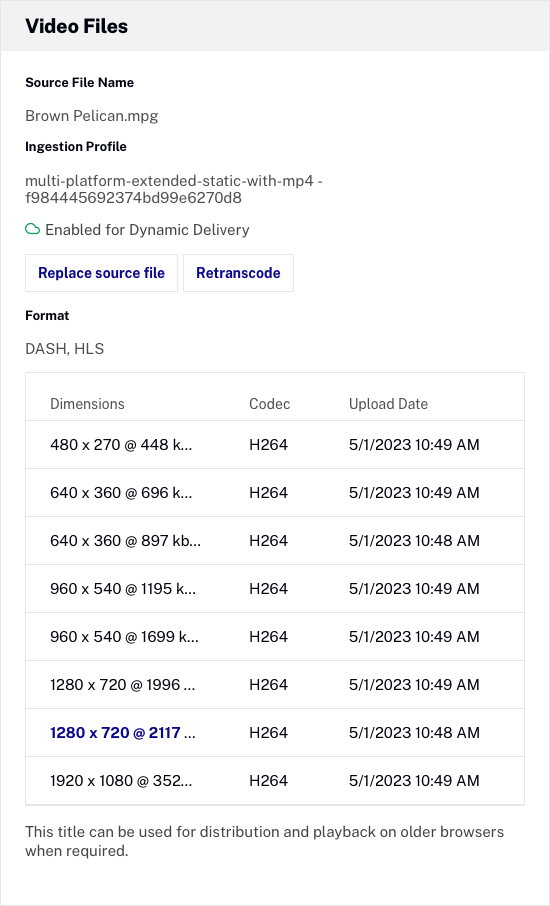
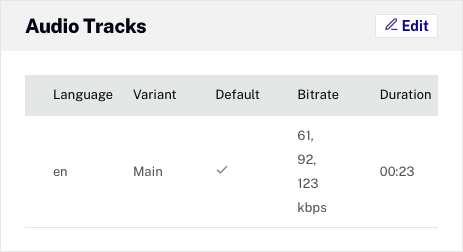
- Video and Tracks
- Images
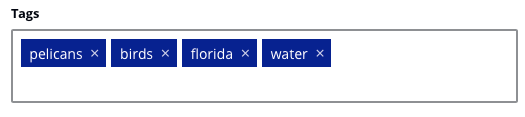
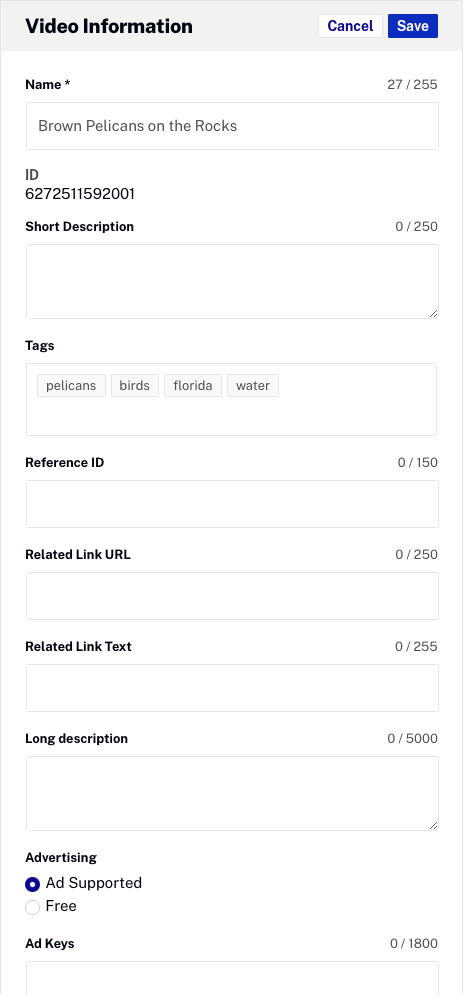
To edit the video details, click the Edit button in a section or double-click in a section.