In this topic, you will learn how to create audio-only live streams.
Introduction
Audio-only live streams allow you to tap into the sizeable audio entertainment ecosystem, including podcasts and radio. With Brightcove, you can ingest and live stream audio-specific content without a video component. Brightcove's player technology has been optimized for audio to mobile, web, and connected home devices. You will even get relevant analytics for audio-only playback.
Benefits of Audio-Only
Lower bandwidth use – Listeners can stream content even on slow connections
Customizable player – Use an audio-focused player that matches your brand
Analytics support – Track audience engagement just like with video.
Example Use Cases
Podcasts and talk shows
Music releases or concerts
Corporate announcements
Audiobooks and training content
Live radio streams
Requirements
This feature is a paid add-on for your account. Contact your Customer Success Manager to enable audio-only live streams.
Creating and Streaming Audio-Only Channels
In Studio, open the Live module.
Click Create Channel.
Under Create channel, you will see two options: Linear and Event.
Event Channels – Best for one-time or recurring live channels of shorter duration (e.g., concerts, webinars, product launches).
Linear Channels – Designed for 24/7 continuous streaming (e.g., radio, always-on programming).
Click Create Channel > Event
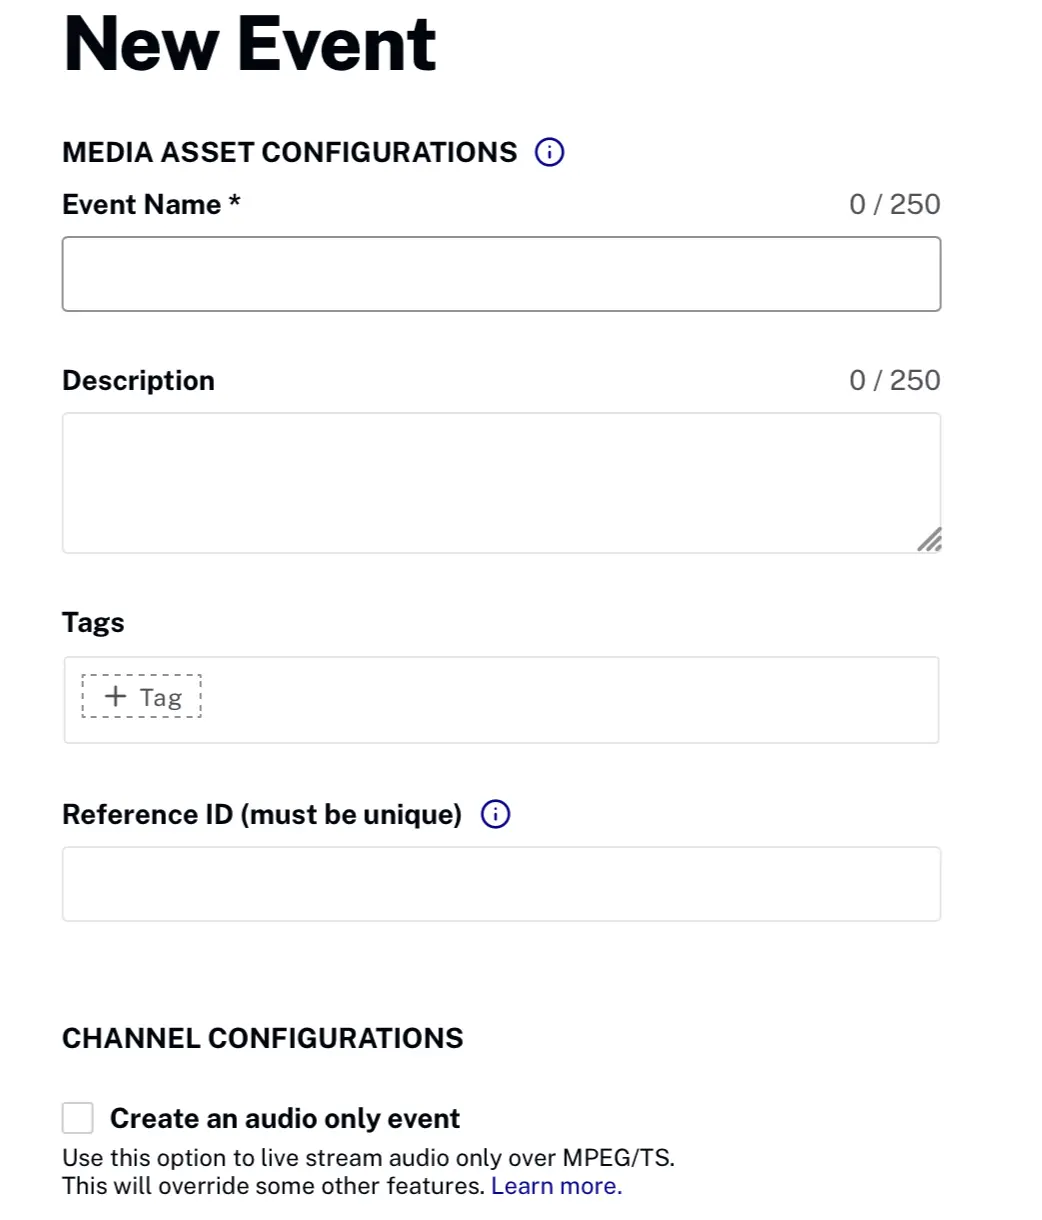
Enter values for your live stream channel.
Event Name - Name for the channel; this name will also appear in the Media module if the video is saved as a video asset (max 255 characters)
Short Description - Description of the channel (max 250 characters)
Tags - Tags to associate with the channel; tags will be assigned to the video if the video is saved as a video asset (max 128 characters and 1200 tags)
Reference ID - Reference ID for the channel; must be unique (max 150 characters)
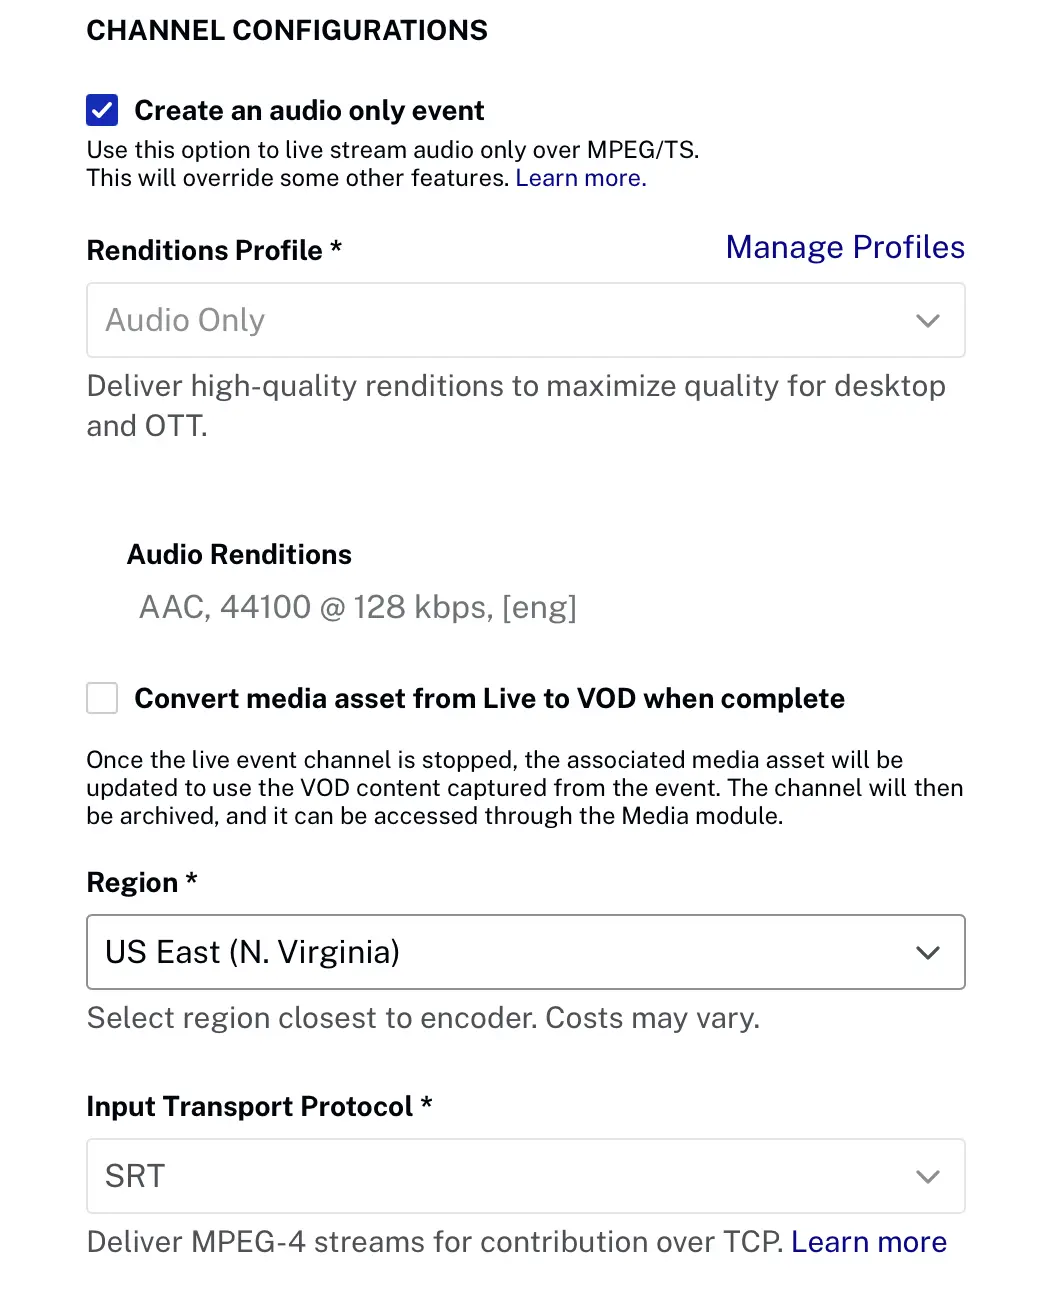
Select Create an audio-only event. Notice the following option is grayed out:
Live Ingest Profile
Select your region, to reduce latency, you should select the region that is closest to where your encoder is located.
Choose either SRT/RTMP as the input transport protocol.
(Optional) Enable Convert media asset from Live to VOD when complete, if you'd like the audio saved as on-demand after the channel ends.
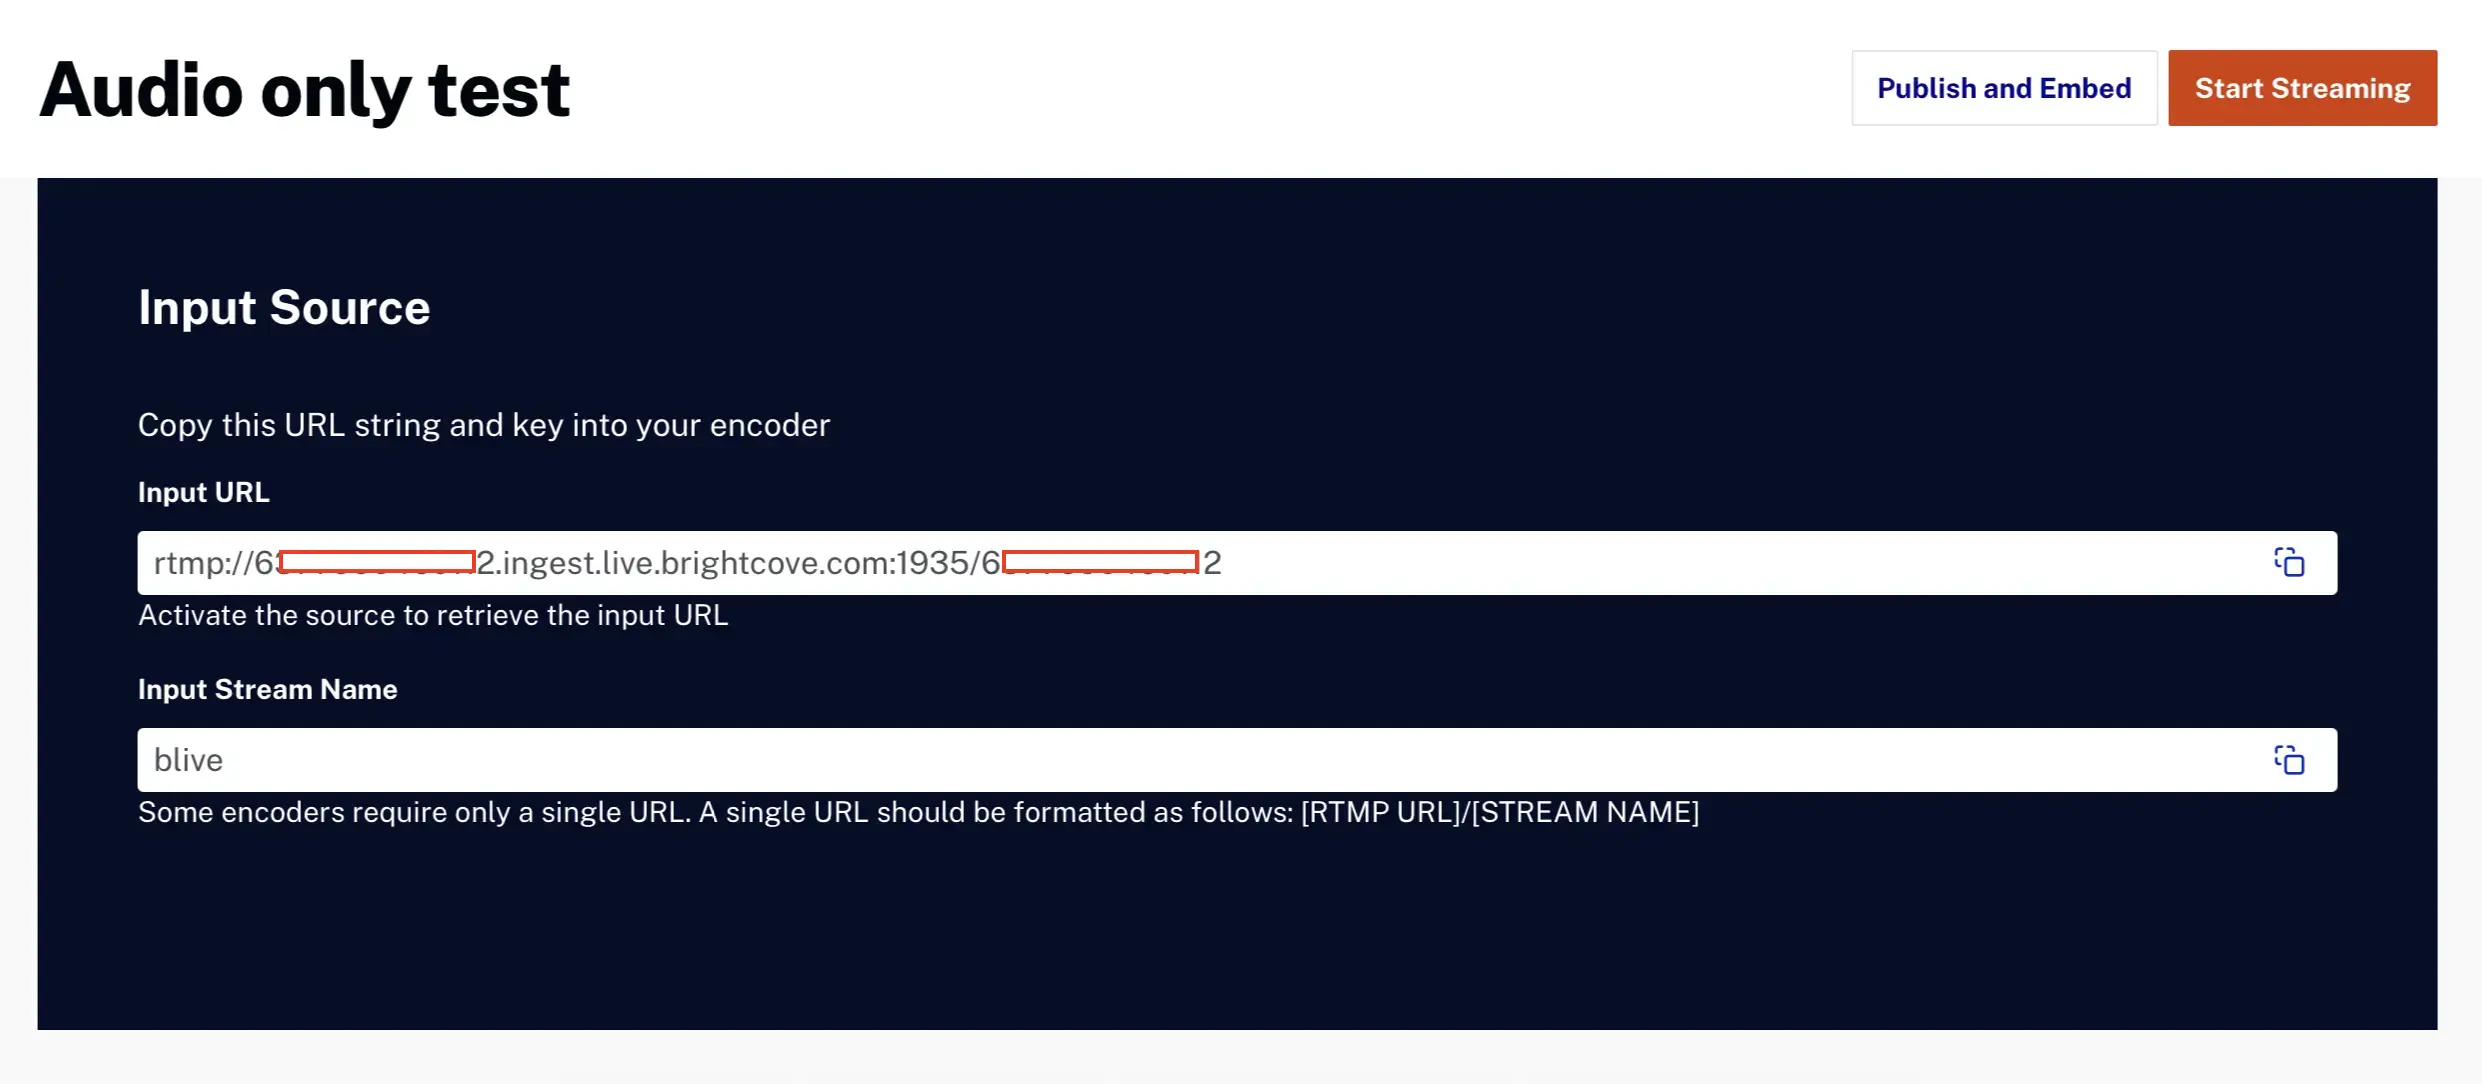
Complete the rest of the options for your live stream.