The Style Editor provides an easy to use interface that can be used to style annotations:
- Chapter menus
- Overlays
- Hotspots
- Quizzes
After the styling is complete, the changes can be published so that the styling is applied to all annotations in the account.
To access the Style Builder, follow these steps:
- Open the Interactivity module.
- Click the settings icon (
 ) at the top of the page.
 - In the primary navigation, click Style Editor.
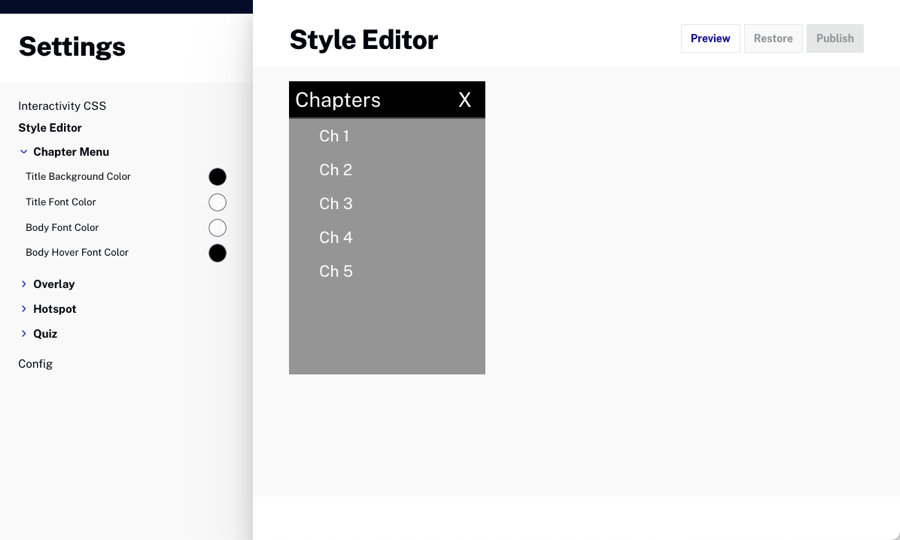
By default, when the style editor opens, the chapter menu styling options are displayed. Use the left navigation to access the styling options for all of the annotation types.
- Chapter Menu
- Overlay
- Hotspot
- Quiz
After styling changes are complete, click to save the changes. Click to revert back to the default styling settings.
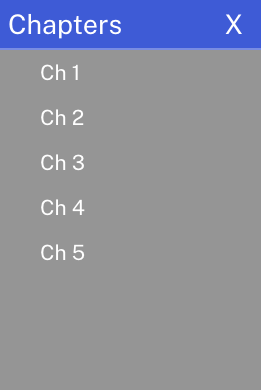
Styling chapter menus
To style chapter menus, expand the Chapter Menu option in the left navigation. The following styling options are available:
- Title Background Color - Chapter menu title background color
- Title Font Color - Chapter menu title font color
- Body Font Color - Chapter listing font color
- Body Hover Font Color - Chapter listing font color on hover
To select a color value, follow these steps:
- Click on the color circle to open the color picker.
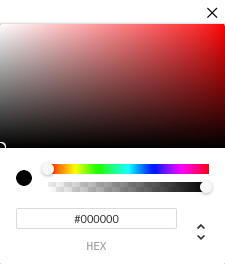
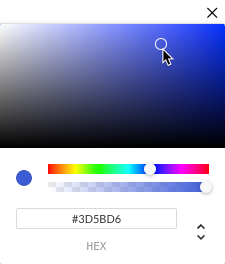
- Use the color slider to set a color range.
- Use the opacity slider to set the opacity for the color.
- Click in the color square to select a color.
- Click the X to close the color picker.
As styling changes are made, they will be reflected in the Live Preview player on the page.
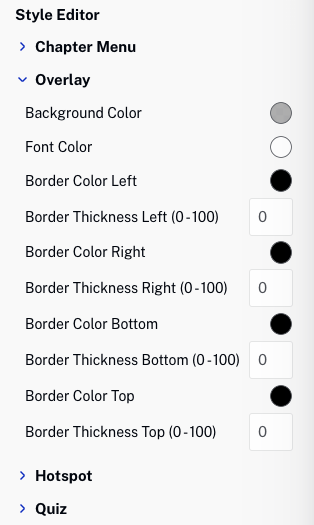
Styling overlays
To style chapter menus, expand the Overlay option in the left navigation. The following styling options are available:
- Background colors, font colors and border thickness for overlays
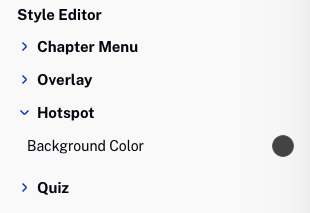
Styling hotspots
To style hotspots, expand the Hotspot option in the left navigation. The following styling options are available:
- Background color for hotspots
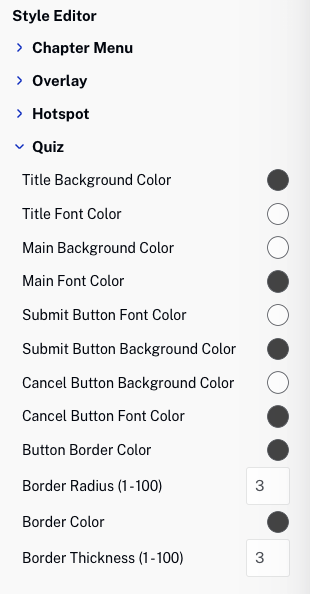
Styling quizzes
To style quizzes, expand the Quiz option in the left navigation. The following styling options are available:
- Background, font and button colors for quizzes
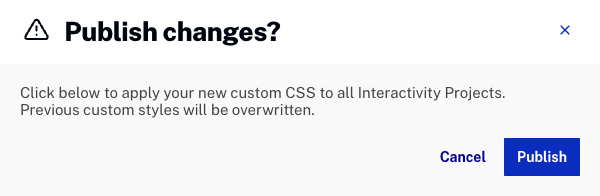
Publishing changes
After styling changes are complete, click to save the changes. Click to revert back to the default styling settings.